Installing DataStax agents
DataStax agents must be installed on every managed node in a cluster and are necessary to perform most of the functionality within OpsCenter.
Once you've added the cluster to OpsCenter, you'll see the status of the agents in the Dashboard.
OpsCenter will attempt to automatically install the agents on the nodes in the newly added cluster. If this fails, you may need to install and configure the agents on each node.
Prerequisites
- Root or sudo access to the machines where the agents will be installed.
- JMX connectivity is enabled on each node in the cluster.
- You either configured the SSH port, or you accepted the default SSH port (22) for node-agent communication.
Procedure
-
Open a browser window and go to the OpsCenter URL at
http://<opscenter_host>:8888 where
<opscenter_host> is the IP or hostname of the
OpsCenter machine.
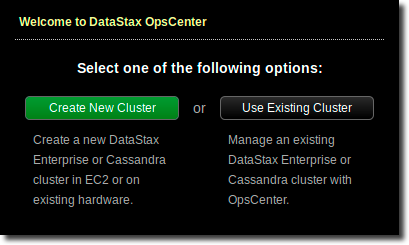
When you start OpsCenter for the first time, you will be prompted to connect to your cluster:
-
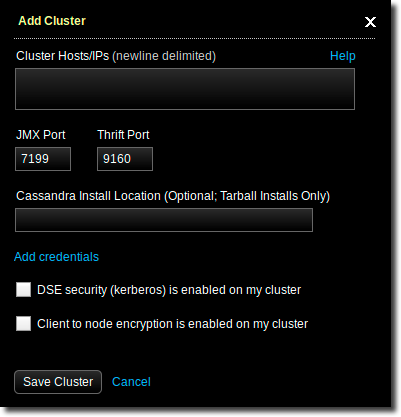
In Add Cluster, enter the Hostnames or IP addresses of
two or three nodes in the cluster, set the JMX and Thrift ports, and then click
Save Cluster.
 After OpsCenter connects to the cluster, a Fix link appears near the top of the Dashboard.
 -
Start installing the agents by clicking the Fix.

-
In Install Node Agents, click Enter
Credentials.

-
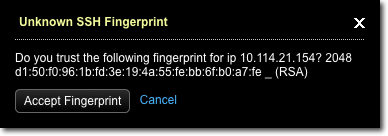
If prompted, click Accept Fingerprint to add a node to
the known hosts for OpsCenter.
Results
DataStax agents have been deployed and configured for each managed node in the cluster.
If you are unable to install the agents through the OpsCenter UI, you can manually install the agents by following these instructions.