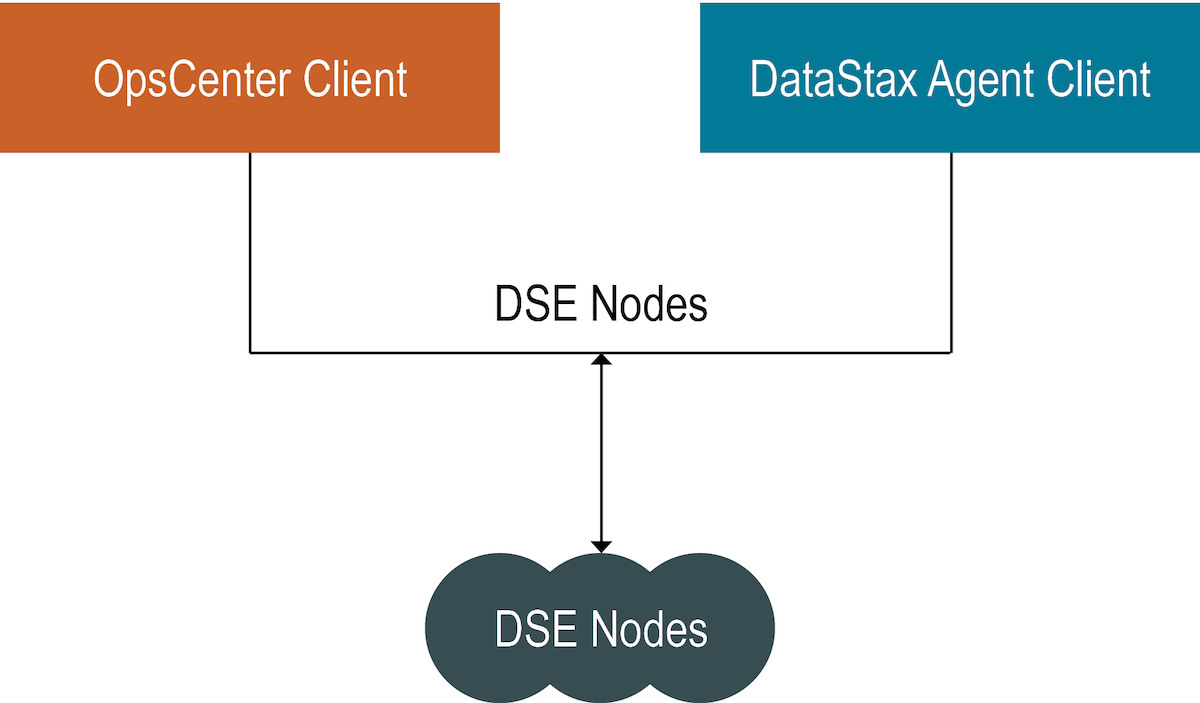
Connect to DSE with client-to-node encryption in OpsCenter and the DataStax Agents
Instructions for setting up OpsCenter and the DataStax Agents for connecting to DSE when client-to-node encryption is enabled.
Note: If two-way auth is enabled, DSE needs to verify traffic from opscenterd and
the DataStax Agents using a truststore.
Follow these instructions to set up OpsCenter
and the DataStax Agents to use client-to-node encryption using one-way or two-way
auth.cluster_name.conf
The location of the cluster_name.conf file depends on the type of installation:- Package installations: /etc/opscenter/clusters/cluster_name.conf
- Tarball installations: install_location/conf/clusters/cluster_name.conf
Prerequisites
- Client-to-node encryption must be enabled on the DSE cluster.
- The keystores and truststores (optional) must be created for all DSE nodes. For more information, see Setting up SSL certificates in the DSE documentation.

Procedure
-
Create a keystore on the opscenterd machine.
keytool -genkey -alias opscenter -keyalg RSA -keypass password -storepass password -keystore opscenter.jks
This command creates a keystore named opscenter.jks in the current directory. -
Export the opscenterd certificate.
keytool -export -alias opscenter -storepass password -file opscenter.crt -keystore opscenter.jks
This command exports the certificate named opscenter.crt that was stored in opscenter.jks in the current directory. -
Create a truststore on the opscenterd machine and import each node's public
certificate.
keytool -import -v -trustcacerts -alias node1 -file node1.crt -keystore truststore.jks -keypass password
The command creates a truststore by importingnode1's certificate. Repeat this command using the certificate from each node. - Optional:
Note: This step is optional and should be done only if two-way-auth is enabled when using DSE client-to-node encryption. This should be done on every node in the cluster.Import the opscenterd certificate into the truststore on every DSE node.
keytool -import -v -trustcacerts -alias opscenter -file opscenter.crt -keystore dse_truststore.jks -keypass password
This command imports (and trusts) the opscenter.crt certificate into a truststore named dse_truststore.jks. - Optional:
Note: The DataStax Agent uses one file as both a keystore and truststore for OpsCenter versions earlier than 6.1.1. Therefore, each agent can reuse the same truststore that was created when enabling client-to-node encryption in DSE. The only additional step is to add the certificate to the truststore for the node in which the DataStax Agent is monitoring.Import the DSE certificate into its truststore so that the DataStax Agent can use the combined truststore and keystore for client-to-node encryption. Repeat for each node.
keytool -import -alias node1 -file node1.crt -keystore dse_truststore.jks -storepass password
This command imports node1.crt into the truststore file dse_truststore.jks, thus making dse_truststore.jks both a truststore and keystore. Repeat this process on every DSE machine. -
Configure OpsCenter and the DataStax agents to use client-to-node encryption.
When client-to-node encryption is enabled for a cluster using Lifecycle Manager, the
ssl_truststoreandssl_truststore_passwordfields are automatically propagated in cluster_name.conf with the corresponding values fromssl_keystoreandssl_keystore_passwordfor both opscenterd and the agent: LCM propagates thessl_keystorevalue intossl_keystoreandssl_truststore; and thessl_keystore_passwordvalue intossl_keystore_passwordandssl_truststore_password. - Restart OpsCenter.
