Managing your Astra DB organization
As an administrator, you can manage your database and organization. This includes the following tasks:
Add organizations in Astra DB
Creating multiple organizations in DataStax Astra DB is useful for segmenting groups of users and creating various environments.
-
From any page in Astra DB, select the Organizations dropdown.

-
In the main dropdown, select Manage Organizations.
-
Select Add Organization. The Add Organization window opens.
-
Enter the name and email address for your new organization.
-
Select Add to add the new organization.
-
The organization is added to the list. An email is sent to the email address entered for the organization owner.
Invite users to an organization
Invite users to join your organization and provide them with access based on the selected role.
-
From any page in Astra DB, select the Organizations dropdown.
-
In the main dropdown, select Organization Settings.
-
From the Users tab, select Invite User.
-
Enter the email address for the user you want to invite for the specific user role. If adding multiple users, separate the email addresses with commas, spaces, or line breaks.
-
Select the user role(s) for the user(s) you are inviting. Multiple roles are available within each group of roles for Organization Access, Database, Keyspace, or Table Access, and API Access.
-
Select Invite Users to send email invitations to the users at their email address.
Invited users are listed as pending until they accept the invitation to join your organization.
Manage user permissions
Default and custom roles allow admins to manage unique permissions for users based on your organization and database requirements.
You can manage roles using the DataStax Astra DB user interface or the DevOps API.
Default Operational Roles
The default roles address four types of operational users and three levels of access.
This matrix show how the four types of operational users with each of the three levels of access:
| User | API User | User Service Account | API Service Account | |
|---|---|---|---|---|
Admin |
Administrator User |
API Administrator User |
Administrator Svc Acct |
API Administrator Svc Acct |
Read Only |
RO User |
API RO User |
RO Svc Acct |
API RO Svc Acct |
Read/Write |
R/W User |
API R/W User |
R/W Svc Acct |
API R/W Svc Acct |
Service Account Roles are limited from listing users and databases. API Roles limit CQL access.
Default Special Roles
In addition to the operational roles, four special default roles exist:
-
Organization Administrator: Super User
-
Database Administrator: Full access to CRUD organizations and databases
-
UI View Only: Read only access to view organizations and databases
-
Billing Admin: Billing only access
Operational Roles Detail
User Roles
| Role name | Console name | DevOps API Parameters |
|---|---|---|
Admin User |
Create All Keyspaces, |
db-all-keyspace-create, |
RO User |
Read IP Access List, |
accesslist-read, |
R/W User |
Read IP Access List, |
accesslist-read, |
API User Roles
| Role name | Console name | DevOps API Parameters |
|---|---|---|
API Admin User |
Read IP Access List, |
accesslist-read, |
API RO User |
Read IP Access List, |
accesslist-read, |
API R/W User |
Read IP Access List, |
accesslist-read, |
User Service Account Roles
| Role name | Console name | DevOps API Parameters |
|---|---|---|
Admin Svc Acct |
Create All Keyspaces, |
db-all-keyspace-create, |
RO Svc Acct |
Read IP Access List, |
accesslist-read, |
R/W Svc Acct |
Read IP Access List, |
accesslist-read, |
API Service Account Roles
| Role name | Console name | DevOps API Parameters |
|---|---|---|
API Admin Svc Acct |
Create All Keyspaces, |
db-all-keyspace-create, |
API RO Svc Acct |
Read IP Access List, |
accesslist-read, |
API R/W Svc Acct |
Read IP Access List, |
accesslist-read, |
Special Roles Detail
Billing Admin
The Billing Admin role provides only access to view the billing information for Astra DB services. This role has no management capabilities nor access to data.
| Console name | DevOps API Parameters |
|---|---|
Read Billing, |
org-billing-read, |
Database Administrator
The Database Administrator role is designed to effectively manage organizations and the databases using CRUD. This role does not have the ability to view billing, mange role-based access control (RBAC), or manage users.
| Console name | DevOps API Parameters |
|---|---|
Read IP Access List, |
accesslist-read, |
Organization Administrator
The Organization Administrator role is the most permissive default role.
| Console name | DevOps API Parameters |
|---|---|
Read IP Access List, |
accesslist-read, |
UI View Only
The UI View Only role is a highly limited role that is only able to list users, databases, and access lists.
| Console name | DevOps API Parameters |
|---|---|
Read IP Access List, |
accesslist-read, |
Custom permissions
The tables below contain detailed descriptions of each of the permissions available in Astra DB and can be used to get more detail on the permissions assigned to the roles above.
Organization permissions
| Console name | Description | DevOps API parameter |
|---|---|---|
View DB |
See a database in a list of databases or Astra Portal. |
org-db-view |
Create DB |
Create a database using the DevOps API or Astra Portal. |
org-db-create |
Terminate DB |
Permanently delete a database and all of of its data using the DevOps API or Astra Portal. |
org-db-terminate |
Expand DB |
Classic only: Scale up a database using the DevOps API or Astra Portal to add more capacity units. |
org-db-expand |
Reset Password |
Reset the password for a classic database. |
org-db-passwordreset |
Manage Migrator Proxy |
Add and remove the migrator proxy from a db. |
org-db-managemigratorproxy |
Read Audits |
Enables read and download audits. |
org-audits-read |
Write Billing |
Enables links and ability to add or edit billing payment info. |
org-billing-write |
Write IP Access List |
Create or modify an access list using the DevOps API or Astra Portal. |
accesslist-write |
Manage Region |
Add, create, or remove a region using the DevOps API or Astra Portal. |
db-manage-region |
Write User |
Add, create, or remove a user using the DevOps API or Astra Portal. |
org-user-write |
Write Organization |
Create new organizations or delete an existing organization. Hides manage org and org settings. |
org-write |
Write Custom Role |
Create custom role. |
org-role-write |
Write External Auth |
Update security settings related to external auth providers. |
org-external-auth-write |
Write Token |
Create application token. |
org-token-write |
Read Billing |
Enables links and access to billing details page. |
org-billing-read |
Read IP Access List |
Enables links and access to acess list page. |
accesslist-read |
Read User |
Access to viewing users of an organization. |
org-user-read |
Read Organization |
View organization in Astra Portal. |
org-read |
Read Custom Role |
See a custom role and its associated permissions. |
org-role-read |
Read External Auth |
See security settings related to external authentication providers. |
org-external-auth-read |
Read Token |
Read token details. |
org-token-read |
Delete Custom Role |
Delete of custom role. |
org-role-delete |
Add Peering |
Create of VPC peering connection. |
org-db-addpeering |
Notification Write |
Enable or disable notifications in organization notification settings. |
org-notification-write |
Keyspace permissions
| Console name | Description | DevOps API parameter |
|---|---|---|
Alter Keyspace |
Make changes to a specified keyspace. |
db-keyspace-alter |
Describe Keyspace |
Get a list of tables within a specified keyspace. |
db-keyspace-describe |
Modify Keyspace |
Access or modify a keyspace. |
db-keyspace-modify |
Authorize Keyspace |
Give access to specified keyspace. |
db-keyspace-authorize |
Drop Keyspace |
Remove keyspace. Available in only Astra Portal. |
db-keyspace-drop |
Create Keyspace |
Create keyspace. Available in only Astra Portal. |
db-keyspace-create |
Grant Keyspace |
Grant specific permissions for specified keyspace. |
db-keyspace-grant |
API access permissions
| Console name | Description | DevOps API parameter |
|---|---|---|
Access GraphQL API |
Connect to database via GraphQL API. |
db-graphql |
Access REST |
Connect to database via REST API. |
db-rest |
Access CQL |
Connect to database via CQL. |
db-cql |
Which role should I assign a user?
| Database Access Method | Roles |
|---|---|
Astra User Interface access |
|
GraphQL, REST, and Document API access based on database access permissions |
|
Data Loader access based on database access permissions |
|
dsbulk access based on database access permissions |
|
DevOps API access based on database access permissions |
|
Drivers based on database access permissions |
|
Manage access list for IP addresses and CIDR |
|
Manage application tokens
Application tokens allow you to connect to your database from your application using the Document, REST, and GraphQL APIs for DataStax Astra DB.
As of 4 March 2021, your Astra DB username and password will not work for your database. You will need to use an application token to connect to your database.
Create application token
|
You can also create an application token using the DevOps API. |
-
From any page in Astra DB, select the Organizations dropdown.
-
In the main dropdown, select Organization Settings.
-
From your Organization page, select the Tokens tab.
-
Select the role you want to attach to your token. The permissions for your selected role will be displayed.
-
Select Generate Token. Astra DB will generate your token and display the Client ID, Client Secret, and Token.
-
Download your Client ID, Client Secret, and Token.
|
After you navigate away from the page, you won’t be able to download your Client ID, Client Secret, and Token again. These tokens do not automatically expire, but can be destroyed in case they are compromised or no longer needed. |
You can now use your token to connect to the Astra DB APIs. See more about the available APIs:
You can use your Client ID and Client Secret to connect to your database. See more about the available connection options:
Set environment variables
In your command-line interface associated with your environment, paste the following environment variables copied for your Astra DB database:
export ASTRA_DB_ID=<database_id>
export ASTRA_DB_REGION=<database_region>
export ASTRA_DB_KEYSPACE=<keyspace_name>
export ASTRA_DB_APPLICATION_TOKEN=<app_token>
Delete application token
If you need to limit access to your database, you can delete an application token.
-
Select the overflow menu for the application token you want to delete.
-
Select Delete to delete that application token.
-
If necessary, generate a new application token for the same user role.
Authenticating classic databases
|
This information applies to only classic databases. |
Classic databases were created before 4 March 2021. These databases have fixed compute and storage capabilities and do not include the latest authentication version.
To authenticate your DataStax Astra DB classic database, generate an authorization token. You’ll use this token to authenticate with your database and make additional requests, such as creating tables or adding rows.
Use the authorization endpoint to generate the token. For the following examples, we’ll use cURL commands. If you’re making requests from your application, use the code samples described in the authorization endpoint details.
|
The authorization token is active for 30 minutes from the most recent request made. If no request has been made within 30 minutes, the authorization token expires. |
-
Open a browser, navigate to Astra DB, and log in.
-
From your Dashboard page, select your database.
-
Copy the Cluster ID of your database. You can also find the Cluster ID in the URL, which is the last UUID in the path:
https://astra.datastax.com/org/{org-Id}/database/{databaseid} -
Add the Cluster ID as an environment variable with the following command:
-
Set environment variable
-
Example
export ASTRA_CLUSTER_ID={databaseid}export ASTRA_CLUSTER_ID=b5285f63-8da5-4c6e-afd8-ade371a48795-
Copy the Region of your database, the region where your database is located.
-
Add the Region as an environment variable with the following command:
-
Set environment variable
-
Example
export ASTRA_CLUSTER_REGION={region}export ASTRA_CLUSTER_REGION=us-east1-
Add your username, keyspace, and your password as environment variables with the following command:
-
Set environment variable
-
Example
export ASTRA_DB_USERNAME={username}
export ASTRA_DB_KEYSPACE={keyspace}
export ASTRA_DB_PASSWORD={password}
export ASTRA_DB_USERNAME=john.smith@datastax.com
export ASTRA_DB_KEYSPACE=users
export ASTRA_DB_PASSWORD=P@ssw0rd-
Use
printenvto ensure the environment variables were exported. -
Run the entire
cURLcommand with the values for your database:-
Replace
db_usernamewith your database username. -
Replace
db_passwordwith your database password. -
Optional: Add a unique UUID for the authorization request:
-
curl --request POST \\
 --url https://${ASTRA_CLUSTER_ID}-${ASTRA_CLUSTER_REGION}.apps.astra.datastax.com/api/rest/v1/auth \
 --header 'Content-Type: application/json' \
 --data '{"username":"'"$ASTRA_DB_USERNAME"'", "password":"'"$ASTRA_DB_PASSWORD"'"}'
--header 'x-cassandra-request-id: {unique-UUID}|
Consider using a tool like this Online UUID generator to quickly create a random UUID to pass with your authorization request. |
An authorization token is returned:
{"authToken": "37396a44-dcb8-4740-a97f-79f0dba47973"}-
Copy the value of the returned
authTokenand store the authorization token in theASTRA_AUTHORIZATION_TOKENenvironment variable:
-
Set environment variable
-
Example
export ASTRA_AUTHORIZATION_TOKEN={authToken}export ASTRA_AUTHORIZATION_TOKEN=37396a44-dcb8-4740-a97f-79f0dba47973The authorization token must be included when making requests to your database, such as creating tables, adding rows, or modifying columns.
-
If the authorization token expires, generate a new authorization token and update it in the
ASTRA_AUTHORIZATION_TOKENenvironment variable.
What’s next?
You can now use your token to connect to the Astra DB APIs. See more about the available APIs:
Manage custom roles
Within Role Management, you can see the permissions for a specific role by hovering over the number in the Permissions column of the table. This will show the permissions granted to the role.

If the default roles don’t meet your requirements, you can use custom roles that meet your organizational needs.
Create custom role
|
You can also create custom roles using the DevOps API. |
-
In Astra Portal, select the organization in the left navigation to add a custom role.
-
Select Settings.
-
Select Role Management and then Add Custom Role.
-
Enter the name you want to use for your custom role. This name should help you easily identify when you want to assign this role to users.
-
Select the Organization, Keyspace, Table, and API permissions you want to assign to your custom role.
If you want users with this role to be able to see the Astra DB user interface, make sure you select Read User and View DB permissions.
-
To apply your selected permissions to specific databases or keyspaces, toggle the switch to not apply the permissions to all databases in an organization. Then select the specific databases or keyspaces to which you want to apply the permissions.
-
Once you have selected your permissions, select Create Role.
To see your custom roles, select Role Management within your Organization. You can now invite users using your new custom role.
Edit user roles
-
From your Organization page, select Role Management.
-
Select Edit Role from the overflow menu for the custom role you want to update.
-
When editing the role, you can edit the name, permissions, database, and keyspace.
-
Once you have updated your permissions, select Edit Role.
Your updated custom role will show up in Role Management within your Organization.
Bring Your Own Key
Encryption is a widely accepted mechanism to secure data against breaches. By default, DataStax Astra DB encrypts data, and cloud providers such as AWS and Google Cloud offer encryption solutions. However, you may want to further limit data access, because cloud providers have access to the keys and ultimately to the data.
To address this security concern, Astra DB allows you to associate a Customer Managed Key (one per region) that you defined in the cloud provider’s Key Management Service with a Customer Key that you create in Astra DB.
We call this organization-scoped Astra DB feature Bring Your Own Key (BYOK).
|
This BYOK feature:
|
For related details, see the Customer Keys API reference.
Pricing and billing
Learn about the pricing model and billing structure for DataStax Astra DB serverless and databases.
Classic pricing
|
Classic databases can no longer be created through Astra Portal. We recommend migrating your database to our current serverless option, which could save you money and allow you to manage your compute and storage capabilities separately. |
Pricing for Astra DB classic databases is based on plan, units of measure, cloud provider, and region.
The cost of your classic Astra DB database depends on the classic database plan you select. Classic Astra DB databases use a single capacity unit (CU) by default, which represents three database instances that are grouped together for three replicas. The classic database plan represents the amount of compute power allocated to each CU, and represents three compute instances per CU. Classic database pricing is presented in the DataStax Astra Portal in hourly terms, but billed in one-minute granularity.
In addition, all Astra Classic customers are charged additional data transfer cost as state below:
-
Data transfer (GB): the transfer of Customer Data out of the database. Billable units and pricing vary depending on whether the Data Transfer occurs within the same region of a cloud provider network (“Data Transfer - Same Region”), across regions within the same cloud provider network (“Data Transfer - Cross Region within Cloud Provider Network”), or leaves the cloud provider network over the internet (“Data Transfer - Internet”).
Cloud providers and regions
You can select AWS, Google Cloud, or Azure as your cloud provider. Each cloud provider offers Standard, Premium and Premium+ regions. The cloud provider and region you select affects the price of each unit of measure for your database.
|
Effective July 1, 2022, there is no separate premium pricing for Astra Classic Multi-region. All Astra Classic customers are charged additional data transfer cost. Data Transfer pricing is the same as Astra Serverless pricing. For more details on the definitions of "Multi-Region" and "Data Transfer" as well as respective pricing, please visit the Astra Serverless pricing page. |
Billing
Astra DB handles billing through an integration with Stripe, and displays all related billing information in the Billing & Payments section of your Organization.
In Billing & Payments, you can see your plan and payment method, along with when the plan was created. You can also select Manage to change your plan.
You can also update your payment method in the Billing & Payments section. Your Billing & Payments also displays each database included in your server, allowing you to see what your total cost is per database.
Managing payment methods
Optionally, update your payment method in the Billing & Payments section. Your Billing & Payments also displays each database included in your server, allowing you to see your total cost per database.
Update the payment method you entered when creating your DataStax Astra DB database. Before your monthly credit runs out, you must enter your credit card number and associated billing information to ensure your database remains accessible.
Enter updated credit card information and associated billing details, or delete the existing payment method.
Astra DB supports one payment method for each organization.
Updating your payment information
-
From any page in Astra DB, select the Organizations dropdown.
-
In the main dropdown, select Organization Settings.
-
From Billing & Payment, select Invite User.
-
From your Astra Dashboard, select Add Payment Method or Update beside the existing payment method.
-
In the Update Payment Method menu, confirm that you want to Update your payment method.
-
Enter the new billing information and Save.
-
Your payment method is updated. All future billing will use the new payment entered.
Prerequisites
Ensure your organization meets the following requirements to remove your payment method:
-
With no outstanding balance and no premium features, you can remove your payment method at any time. A dialog box appears to confirm you want to remove the payment method; select Remove Payment Method.
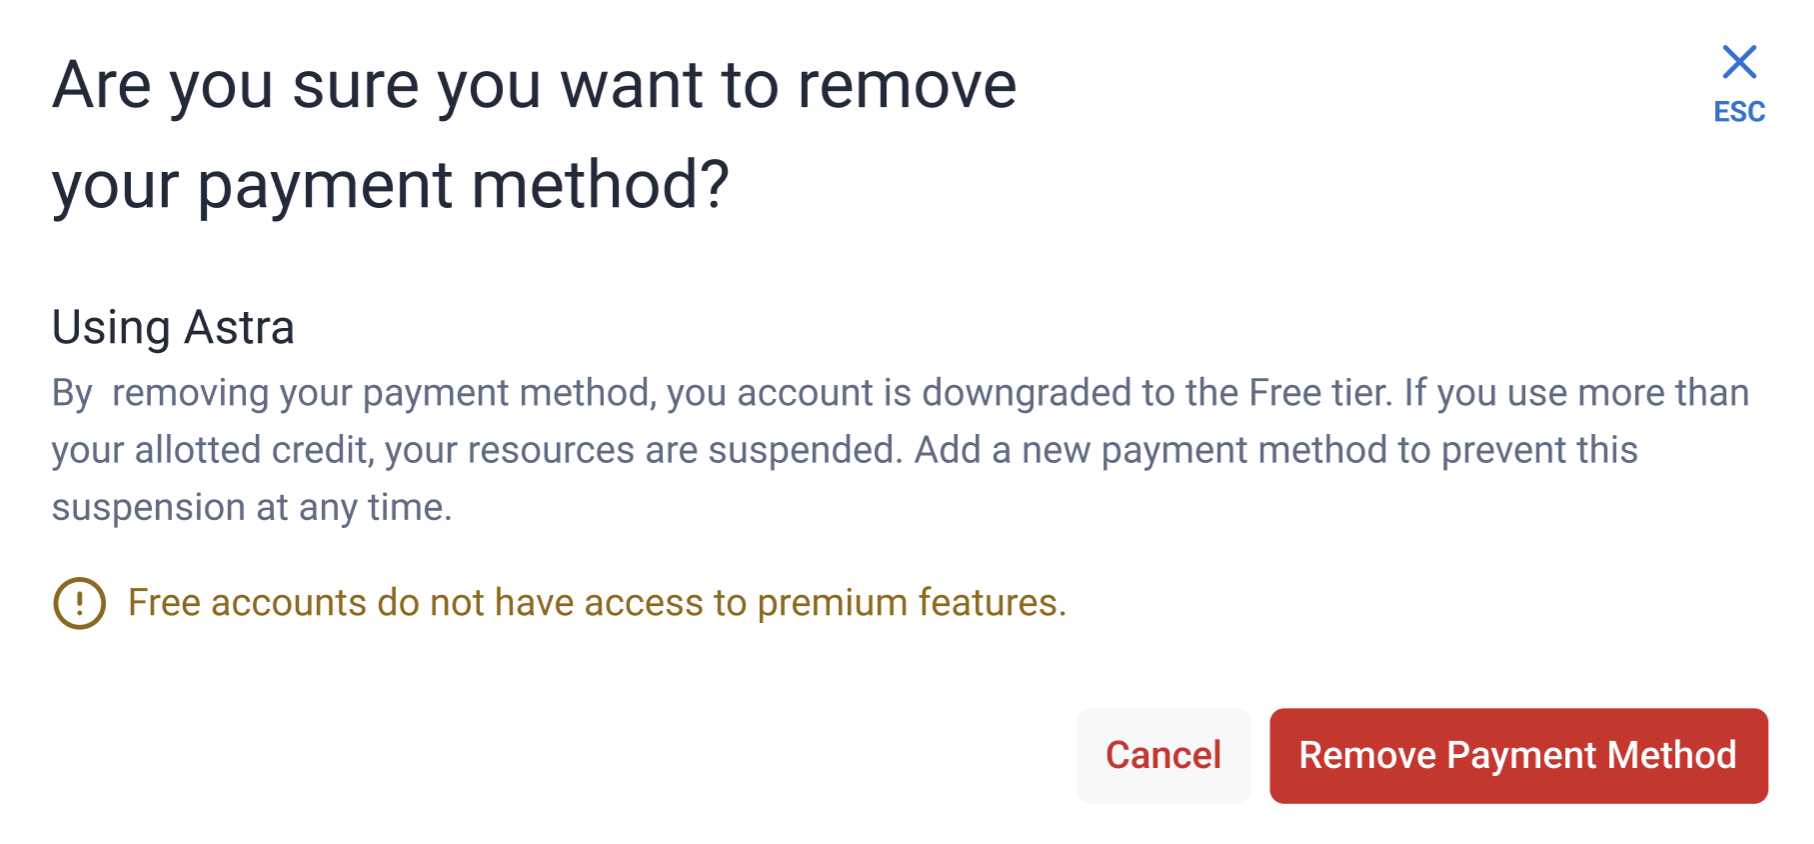
A message appears that you have successfully removed the payment method. An email is also sent for your records.
-
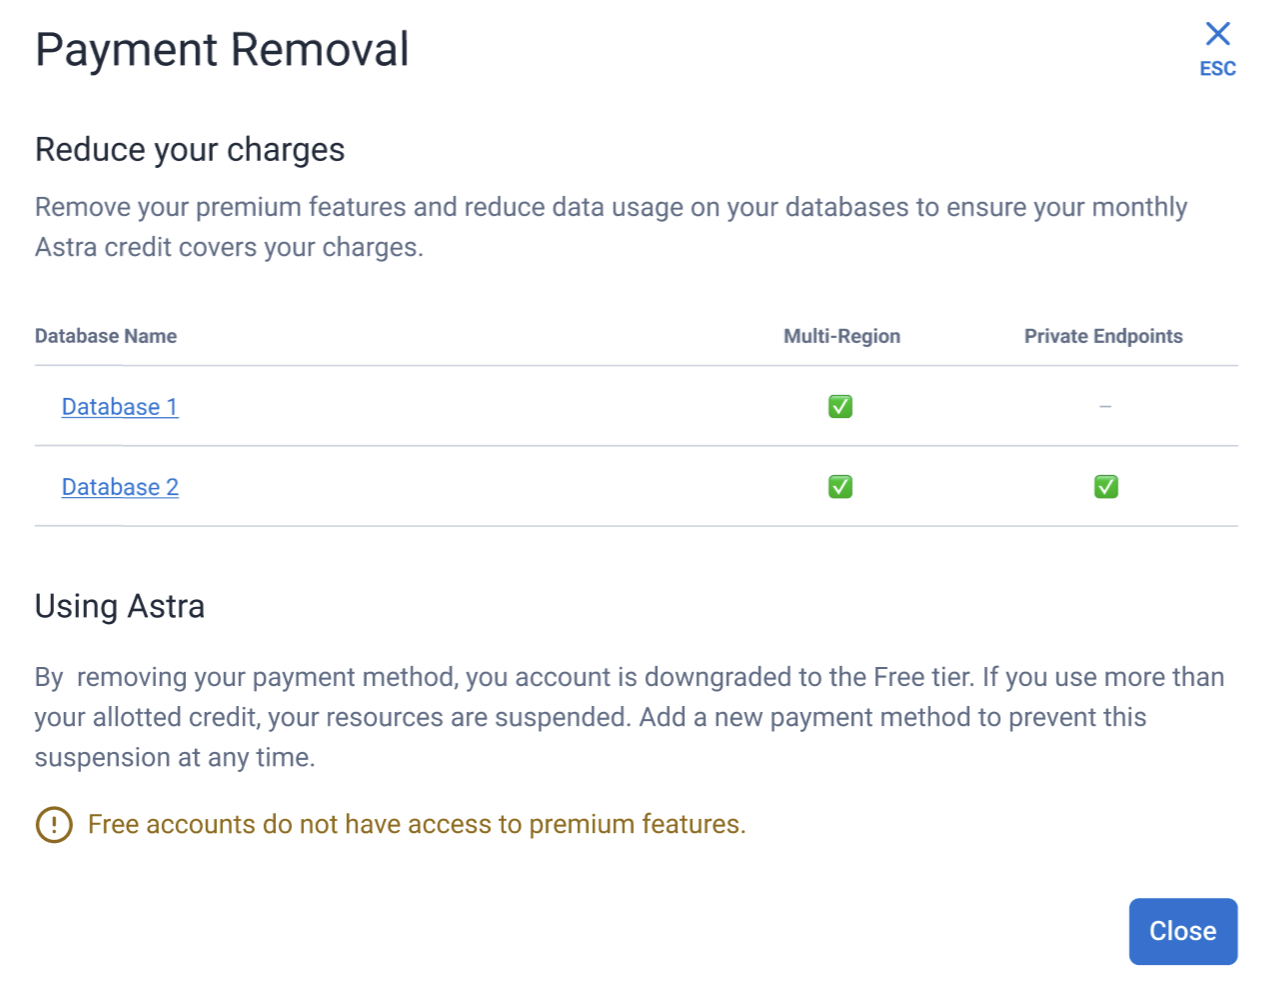
If you have no outstanding balance and premium features, you must remove all of these features before you can proceed. Click the link for each premium feature (as shown below) to remove them.
-
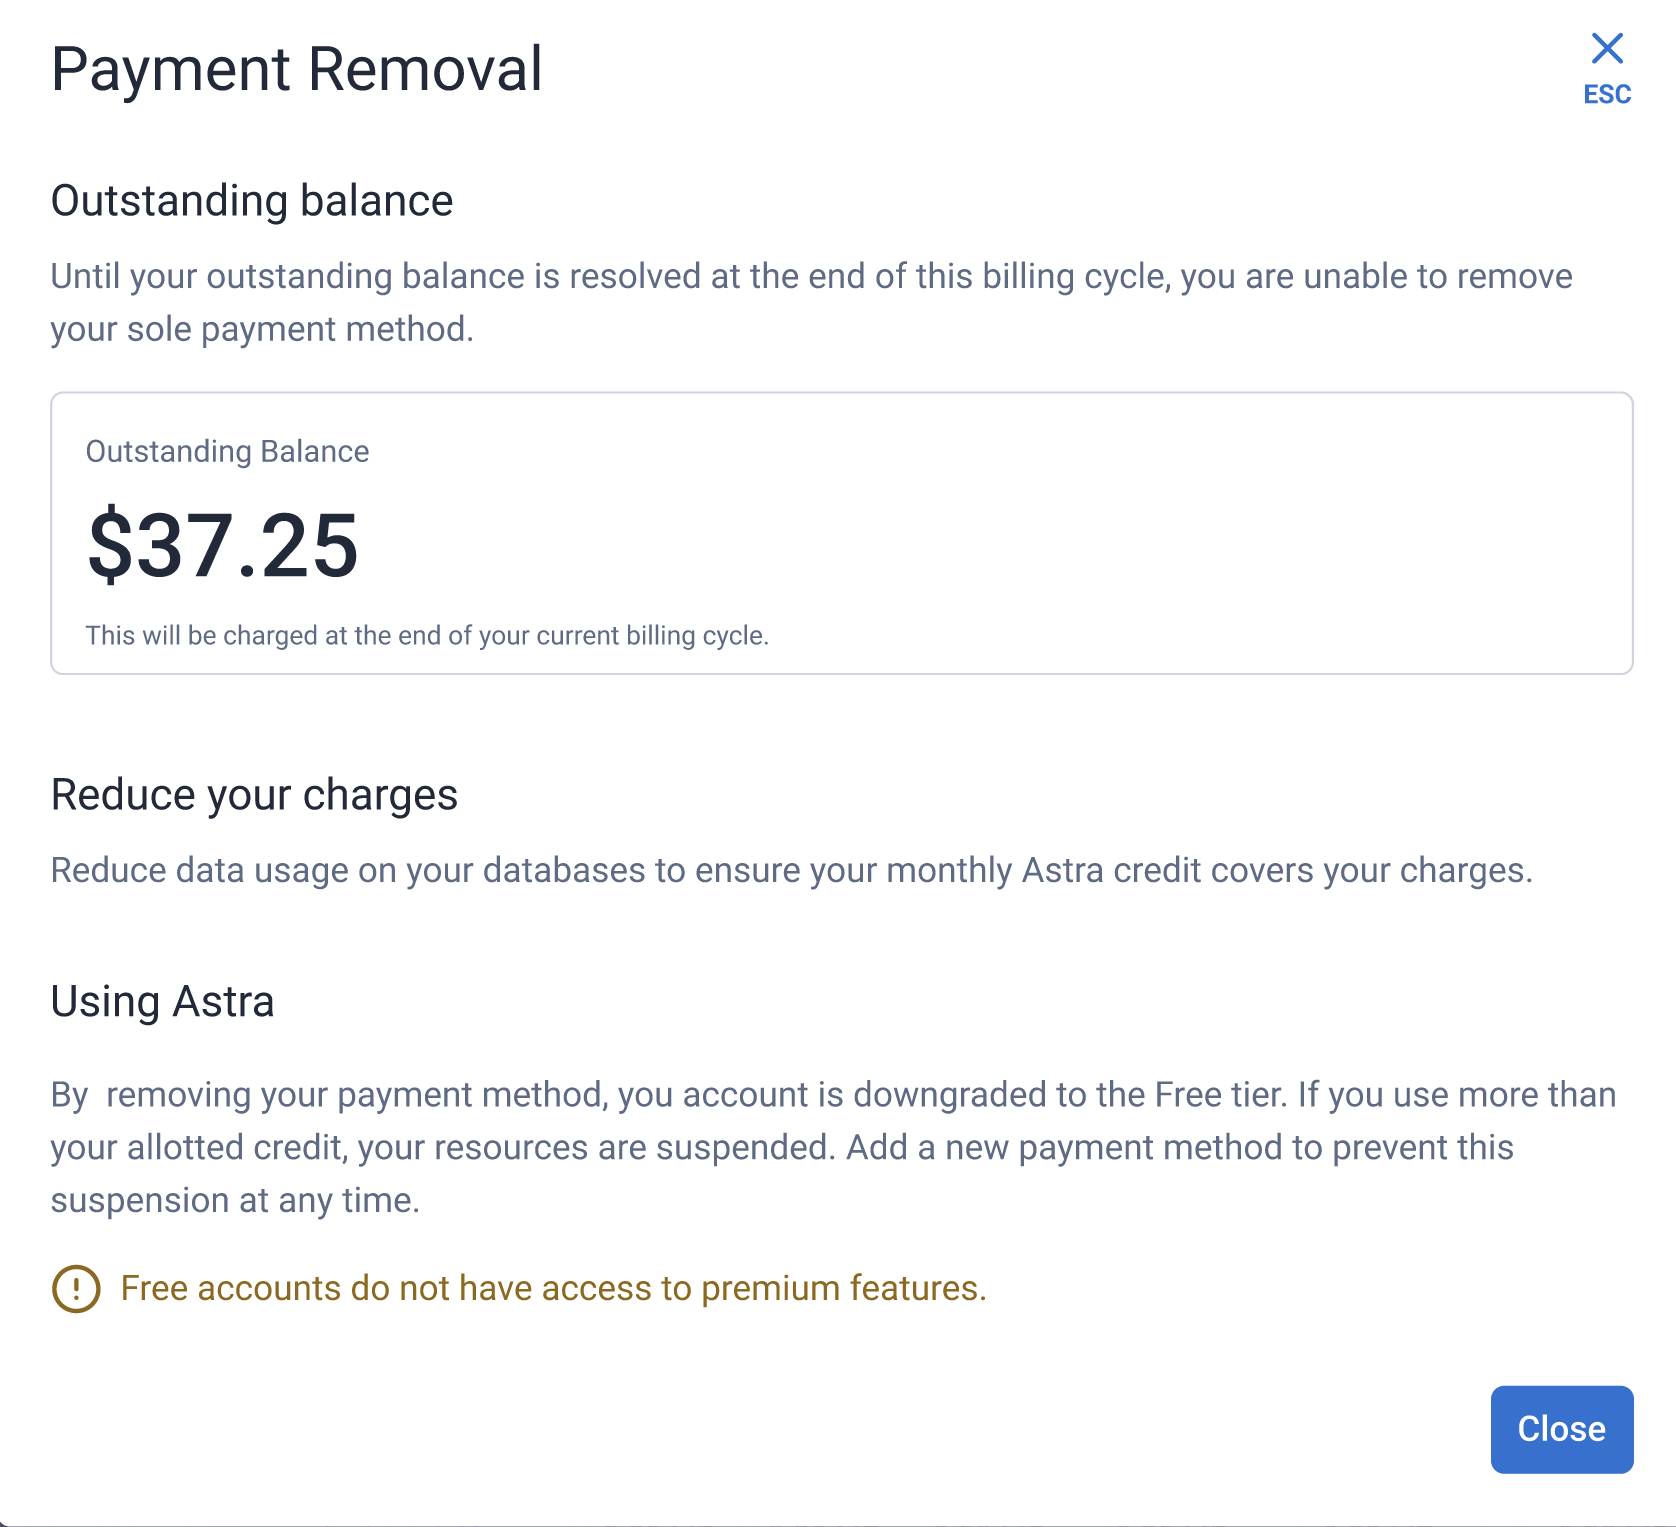
If you have an outstanding balance and no premium features, you must wait until the next billing cycle to settle this account.
-
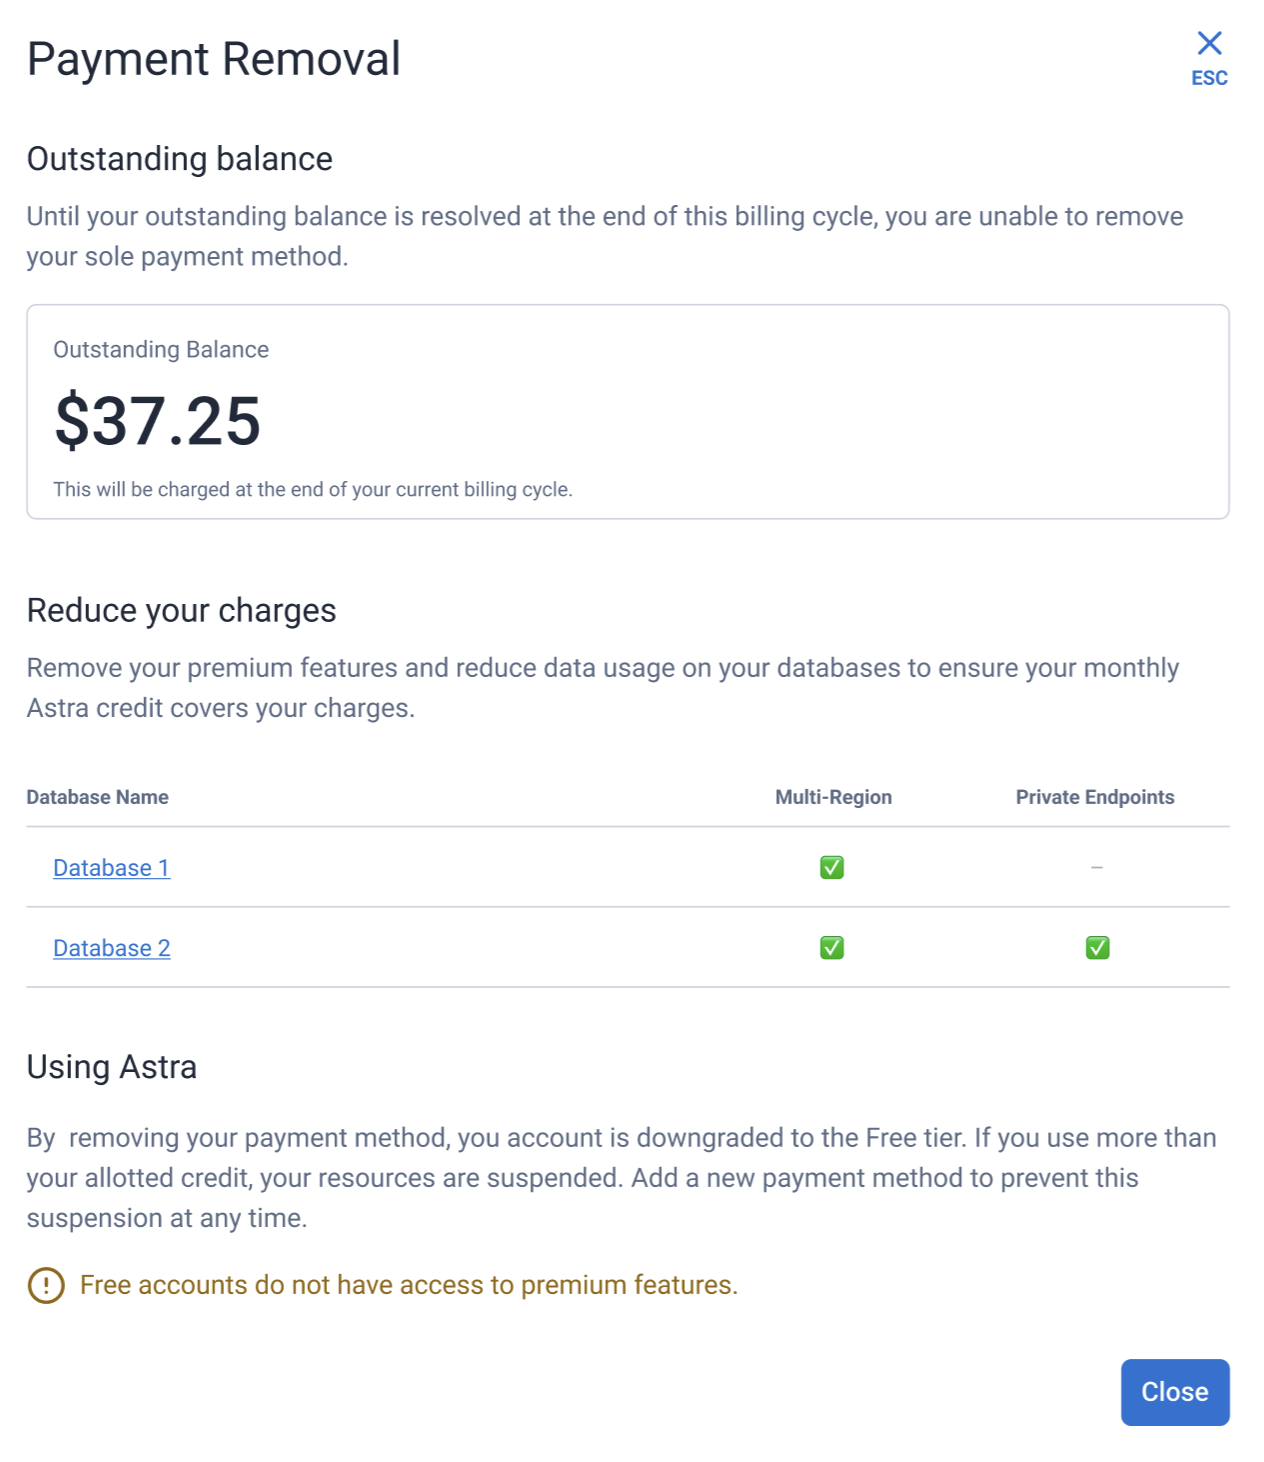
If you have an outstanding balance and premium features, you must remove your premium features before you can remove your payment method. You must wait until the next billing cycle to settle this account.
Removing premium features
Each premium feature is unique and has specific instructions for removal. The following links offer instructions on removing the following premium features: