Installing and running DataStax Studio 2.0
-
DataStax Enterprise 5.1 installed, configured, and running.
-
All DataStax Enterprise 5.1 prerequisites.
-
Windows platforms: Windows 7 and 10, Java 8.
-
Download DataStax Studio for your platform.
If you installed DSE 5.1 using the DataStax Installer and selected Developer Related Tools, Studio has already been installed in the DataStax Enterprise installation directory.
-
Unpack Studio:
-
-
Linux:
tar zvxf datastax-studio-2.0.0.tar.gz -
Windows:
-
From File Explorer, right-click datastax-studio-2.0.0.zip.
-
Enter the destination folder for Studio.
-
Click Extract.
-
To start Studio, run the Studio Server shell script:
-
-
-
Linux:
cd DSE_installation_directory/datastax-studio-2.0.0 $ ./bin/server.sh./bin/server.shTo start Studio in the background, add an ampersand (&) at the end of the command:
+
./bin/server.sh & -
Windows:
C:/> DSE_installation_directory\datastax-studio-2.0.0\bin\server.batYour result will look similar to:
Studio is now running at: http://127.0.0.1:9091-
To open DataStax Studio, by entering the URL in your browser:
http://URI_running_DSE:9091/
-
-
For DSE running on localhost, URI_running_DSE is localhost.
-
For DSE on another machine, URI_running_DSE is the hostname or IP address for the remote machine.
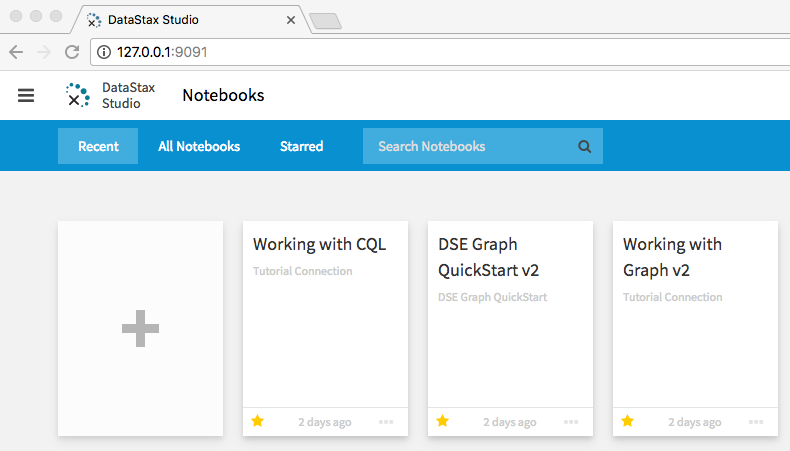
Use notebooks to get started.
DataStax Studio 2.0 has revisions of these notebooks:
-
Working with Graph v2
-
DSE Graph QuickStart v2
A new notebook:
-
Working with CQL
These notebooks include helpful information on using Studio and examples of using CQL and DSE Graph in Studio.
