Using Pulsar SQL with Luna Streaming
Pulsar SQL allows enterprises to query Apache Pulsar topic data with SQL. This is a powerful feature for an Enterprise, and SQL is a language they’re likely familiar with. Stream processing, real-time analytics, and highly customized dashboards are just a few of the possibilities. Pulsar offers a pre-made plugin for Trino that is included in its distribution. Additionally, Pulsar has built-in options to create Trino workers and automatically configure the communications between Pulsar’s ledger and Trino.
In this guide, we will use the DataStax Pulsar Helm Chart to install a Pulsar cluster with Pulsar SQL. The Trino coordinator and desired number of workers will be created directly in the cluster.
Prerequisites
You will need the following prerequisites in place to complete this guide:
-
Pulsar CLI
-
Presto CLI (this example version 0.278.1)
-
Helm 3 CLI (this example uses version 3.8.0)
-
Kubectl CLI (this example uses version 1.23.4)
-
Enough access to a K8s cluster to create a namespace, deployments, and pods
|
PrestoDB has been replaced by Trino, but Apache Pulsar is using Presto’s version. The Trino CLI uses the "X-TRINO-USER" header for authentications but Presto expects "X-PRESTO-USER", which is why we use the Presto CLI. |
Install Luna Streaming Helm chart
-
Add the DataStax Helm chart repo to your Helm store:
helm repo add datastax-pulsar https://datastax.github.io/pulsar-helm-chart -
Install the Helm chart using a minimalist values file. This command creates a Helm release named "my-pulsar-cluster" using the DataStax Luna Helm chart, within the K8s namespace "datastax-pulsar". The minimal cluster creates only the essential components and has no ingress or load balanced services.
VALUES_URL="https://raw.githubusercontent.com/datastaxdevs/luna-streaming-examples/main/pulsar-sql/values.yaml" helm install \ --namespace datastax-pulsar \ --create-namespace \ --values $VALUES_URL \ --version 3.0.4 \ my-pulsar-cluster \ datastax-pulsar/pulsar -
Wait for the broker pod to be in a running state. You might see a few restarts as your components start up.
kubectl -n datastax-pulsar wait --for=condition=Ready pod/pulsar-broker-0 --timeout=120s
Forward service port
You’ll need to interact with services in the K8s cluster. Map a few ports to those services. There’s no need to forward Pulsar’s messaging service ports.
In a new terminal window, port forward the Presto SQL service:
kubectl port-forward -n datastax-pulsar service/pulsar-sql 8090:8090In a separate terminal, port forward Pulsar’s admin service:
kubectl port-forward -n datastax-pulsar service/pulsar-broker 8080:8080Confirm Presto is available
-
In a browser, navigate to http://localhost:8090. You will be greeted by Presto’s login.
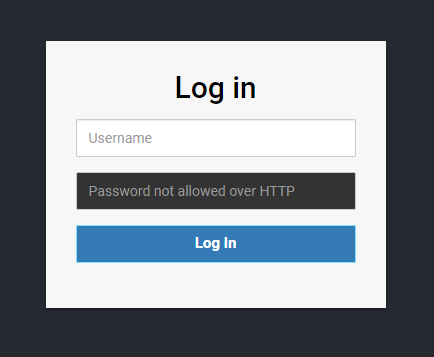
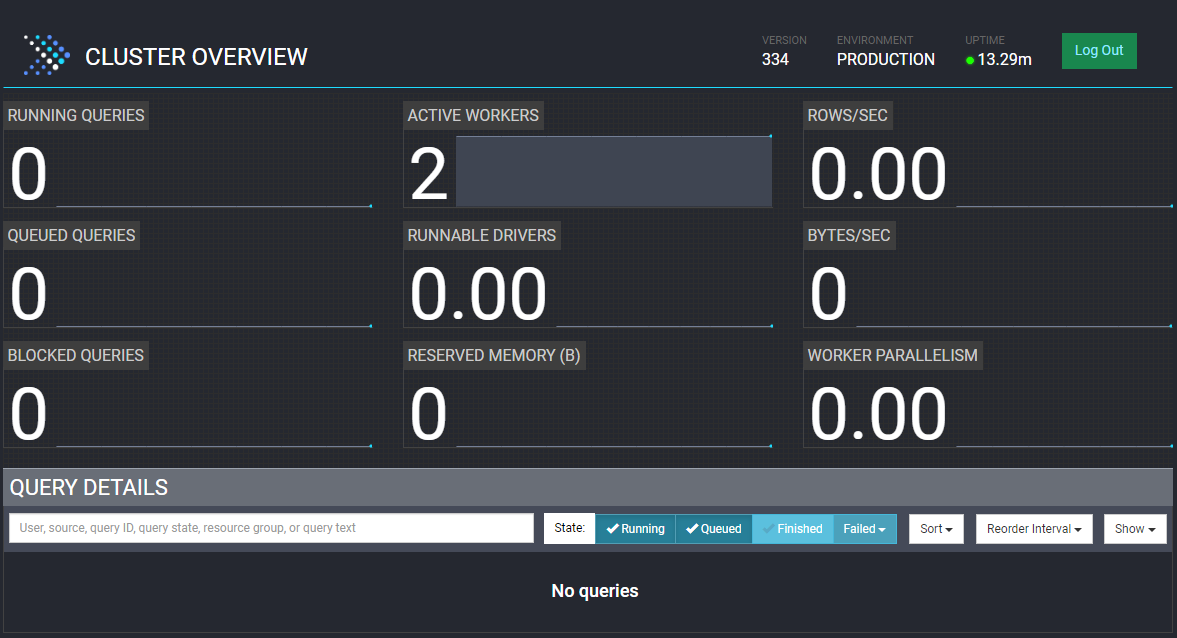
-
There is no authentication enabled, so input whatever user name you prefer and select Log In. You will be greeted by a blank dashboard. This confirms Presto is up and running.
Fill a topic with the data-generator source
In this example, we will use the "data-generator" source connector to create a topic and add sample data simultaneously. The minimalist Helm chart values use the datastax/lunastreaming-all image, which includes all supported Pulsar connectors. This example uses the "public" tenant and "default" namespace. These are created by default in Pulsar, but you can use whatever tenant and namespace you are comfortable with.
-
Download the minimalist Pulsar client. This "client.conf" assumes the port forwarding addresses we will perform in the next step.
wget https://raw.githubusercontent.com/datastaxdevs/luna-streaming-examples/main/client.conf -
Set the client environment variable. Replace the value with the absolute path to the "client.conf" you just downloaded.
# the client conf path must be an absolute path to the downloaded conf file export PULSAR_CLIENT_CONF=<REPLACE_WITH /path/to/client.conf> -
Navigate to the Pulsar home folder and run the following command. The CLI will use the environment variable’s value as configuration for interacting with the Pulsar cluster.
./bin/pulsar-admin sources create --name generator --destination-topic-name public/default/mytopic --source-type data-generatorThe topic name will become a table name in Trino, so SQL naming rules apply.
Names can contain only alphanumeric characters and must begin with an alphabetic character or an underscore (_).
-
Confirm the topic was created.
./bin/pulsar-admin topics list public/defaultYou should get an output of:
persistent://public/default/mytopicInteract with the topic data
-
Open a Presto shell session using the Presto CLI. The server’s port number should match the forwarded port number from the previous step. The user can match the name you used to login earlier in this guide, but doesn’t have to.
./presto --user test --server localhost:8090 -
Once inside the shell, try listing the catalogs Presto has loaded:
presto> show catalogs;Notice the similarities between your Pulsar tenant/namespaces and Presto’s output:
ResultCatalog --------- pulsar system (2 rows) Query 20230103_163242_00000_zvk84, FINISHED, 2 nodes -
List the tables within the
pulsar."public/default"catalog/schema:presto> show tables in pulsar."public/default";Notice the topic that you created from the data-generator source connector earlier in this guide:
Table --------- mytopic (1 row) Query 20230103_163355_00001_zvk84, FINISHED, 2 nodes -
Query the table to see the first 10 rows of data:
presto> select * from pulsar."public/default".mytopic limit 10;The output should be the 10 messages that were added to the Pulsar topic previously.
If you prefer, you can query your table with the Presto client REST API. The response will include a
nextUrivalue. Follow that link to see the results.POST http://localhost:8090/v1/statement HTTP/1.1 content-type: application/json X-Presto-User: test select * from pulsar."public/default".mytopic limit 10 -
Exit the presto shell:
presto> exit
You have successfully interacted with a Pulsar Cluster via SQL.
Want to put your new learnings to the test? Try using the Presto plugin in Redash or Superset to create useful dashboards.
Why are there quotes around the schema name?
You might wonder why there are quotes ("") around the schema name. This is a result of mapping Presto primitives to Pulsar’s primitives.
Presto has catalogs, schemas, and tables. Pulsar has tenants, namespaces, and topics. The Pulsar Presto plugin assumes the catalog name which leaves schema and table, so the tenant and namespace are combined with a forward slash delimited string. Presto has to see that combination as a single string, which means it needs to be wrapped in quotes.
Connect with JDBC
This example queries messages from a Java app using the Presto JDBC client. You’ll need the Java runtime to run the example.
-
Create a file named "PrestoExample.java" with the following contents. Remember to update the JDBC connection with the correct values for your environment.
import java.sql.*; class PrestoExample { public static void main(String[] args) { try { Connection conn = DriverManager.getConnection("jdbc:presto://localhost:8090/pulsar?user=test"); System.out.println("Connection established......"); Statement stmt = conn.createStatement(); try { ResultSet rs = stmt.executeQuery("select * from pulsar.\"public/default\".mytopic limit 10"); while(rs.next()) { String str = rs.getString(1); System.out.println(String.format("%s", str)); } } finally { stmt.close(); conn.close(); } } catch (Exception e) { e.printStackTrace(); } } } -
Build the Java class.
javac PrestoExample.java -
Download the version 334 Presto JDBC driver to the same folder as the Java class.
-
Run the client and observe the output.
-cptells Java to use the downloaded presto-jdbc jar in your classpath to connect.java -cp .:presto-jdbc-334.jar PrestoExampleResultConnection established...... {apartmentNumber=235, city=San Francisco, postalCode=29223, street=Tabor Court, streetNumber=94} {apartmentNumber=260, city=Miami, postalCode=42228, street=Tabor Court, streetNumber=92} {apartmentNumber=279, city=Washington, postalCode=22821, street=Summer Place, streetNumber=126} {apartmentNumber=220, city=Miami, postalCode=71871, street=Tabor Court, streetNumber=64} {apartmentNumber=294, city=Miami, postalCode=69067, street=Highland Place, streetNumber=167} {apartmentNumber=142, city=Washington, postalCode=32774, street=Aster Court, streetNumber=189} {apartmentNumber=233, city=Miami, postalCode=43499, street=Atkins Avenue, streetNumber=30} {apartmentNumber=, city=Washington, postalCode=92651, street=Tabor Court, streetNumber=49} {apartmentNumber=225, city=Washington, postalCode=64877, street=Tabor Court, streetNumber=160} {apartmentNumber=66, city=New York, postalCode=45519, street=Stillwell Avenue, streetNumber=23}
Clean up
Return to each window running an open process and enter ctrl-c to end the process.
To completely remove all traces of the Helm chart, remove the namespace:
kubectl delete namespace datastax-pulsarIf you want to keep the data, uninstall only the chart:
helm --namespace datastax-pulsar uninstall my-pulsar-cluster