Starlight for Kafka
Starlight for Kafka brings native Apache Kafka® protocol support to Apache Pulsar™, enabling migration of existing Kafka applications and services to Pulsar without modifying the code. Kafka applications can leverage Pulsar features such as the following:
-
Streamlined operations with enterprise-grade multi-tenancy
-
Simplified operations with a rebalance-free architecture
-
Infinite event stream retention with Apache BookKeeper™ and tiered storage
-
Serverless event processing with Pulsar Functions
By integrating two popular event streaming ecosystems, Starlight for Kafka unlocks new use cases and reduces barriers for users adopting Pulsar. Leverage advantages from each ecosystem and build a truly unified event streaming platform with Starlight for Kafka to accelerate the development of real-time applications and services.
This document will help you get started producing and consuming Kafka messages on a Pulsar cluster.
Starlight for Kafka Quickstart
-
To start connecting Starlight for Kafka, select Kafka in the Astra Streaming Connect tab.
-
When the popup appears, confirm you want to enable Kafka on your tenant.
You cannot remove the Kafka namespaces created on your tenant with this step. You must remove the tenant itself to remove these namespaces.
-
Select Enable Kafka to create a configuration file and the following three namespaces in your Astra Streaming tenant:
-
kafkafor producing and consuming messages -
__kafkafor functionality -
__kafka_unlimitedfor storing metadata
-
-
Save the configuration to a
ssl.propertiesfile:ssl.propertiesusername: TENANT_NAME password: token: bootstrap.servers: kafka-aws-useast2.streaming.datastax.com:9093 schema.registry.url: https://kafka-aws-useast2.streaming.datastax.com:8081 security.protocol: SASL_SSL sasl.mechanism: PLAINThe configuration details depend on your Astra Streaming tenant configuration.
Connect Kafka and Pulsar
This example uses tools included with the Apache Kafka tarball.
-
Create a new topic in your
kafkanamespace. This example creates a topic namedtest-topicin thekafkanamespace on a tenant namedtenant-1.
-
Move your
ssl.propertiesfile to yourKafka_2.13-3.1.0/configfolder. These values are required for SSL encryption. For this example, the values are as follows:bootstrap.servers=kafka-aws-useast2.streaming.datastax.com:9093 security.protocol=SASL_SSL sasl.jaas.config=org.apache.kafka.common.security.plain.PlainLoginModule required username='tenant-1' password='token:{pulsar tenant token}' sasl.mechanism=PLAIN session.timeout.ms=45000 -
In the
Kafkadirectory, create a Kafka producer to produce messages ontenant-1/kafka/test-topic.bin/kafka-console-producer --broker-list kafka-aws-useast2.streaming.datastax.com:9093 --topic tenant-1/kafka/test-topic --producer.config config/ssl.propertiesOnce the producer is ready, it accepts standard input from the user:
Result>hello pulsar -
In a new terminal window, create a Kafka consumer to consume messages from the beginning of
tenant-1/kafka/test-topic:bin/kafka-console-consumer --bootstrap-server kafka-aws-useast2.streaming.datastax.com:9093 --topic tenant-1/kafka/test-topic --consumer.config config/ssl.properties --from-beginning hello pulsar -
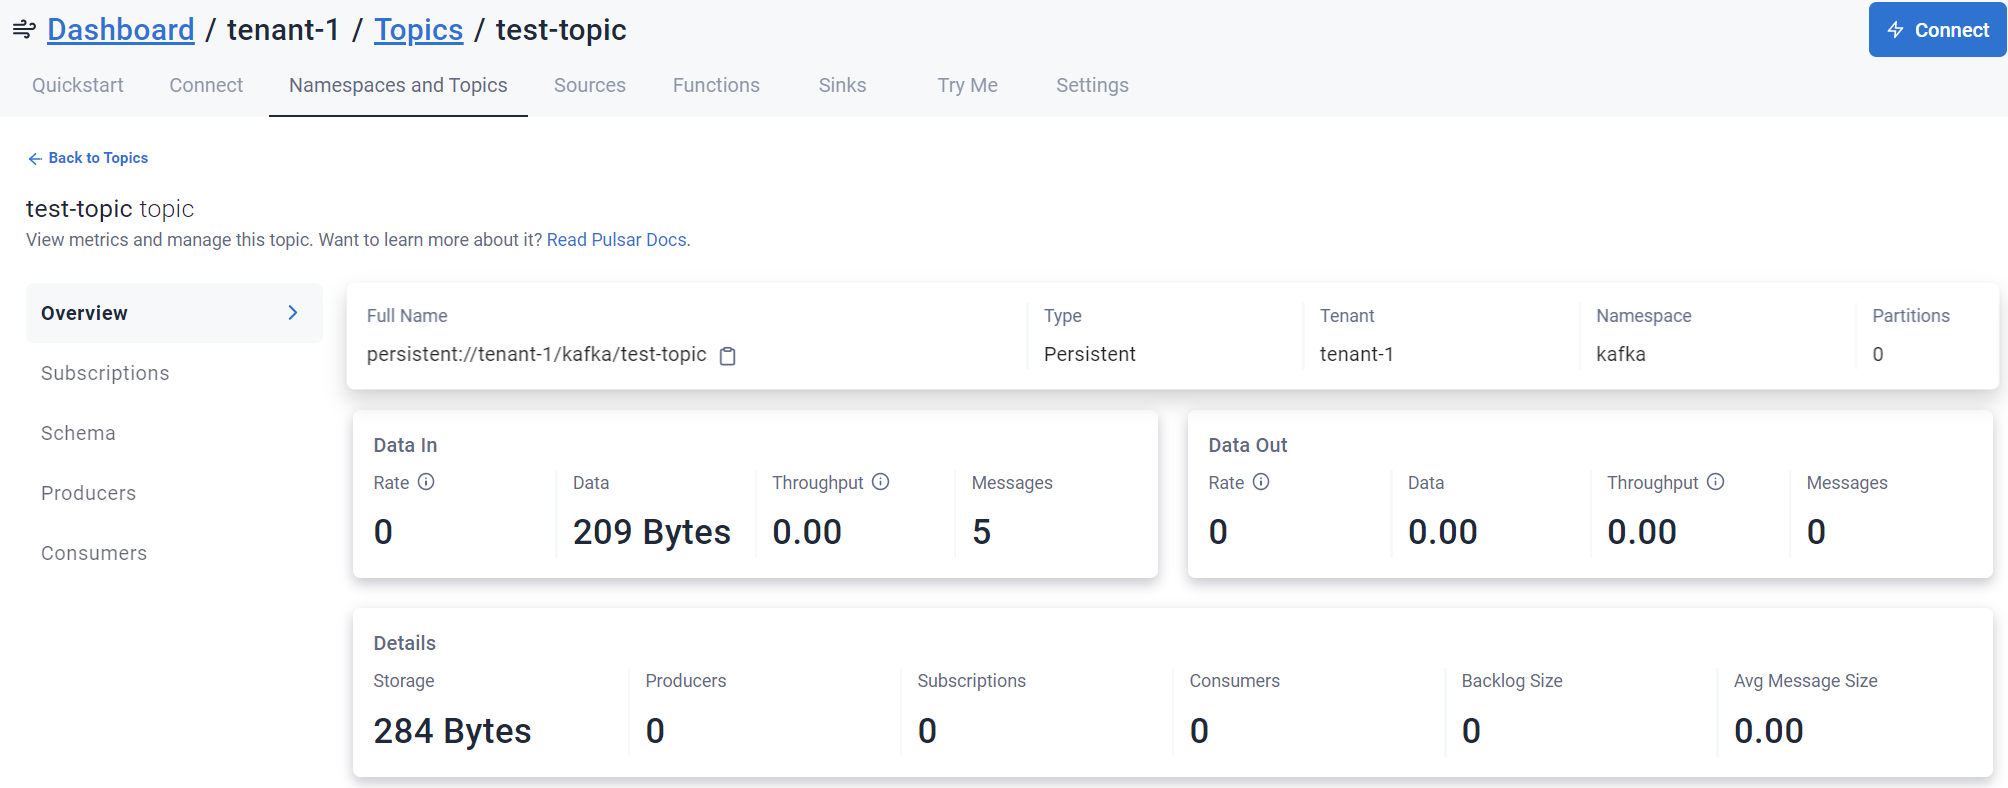
Send a few messages, and then return to your
kafkanamespace dashboard in Astra Streaming to monitor your activity.Your Kafka messages are being produced and consumed in a Pulsar cluster:

