Create a notebook in DataStax Studio
After you install DataStax Studio, you can create connections to your clusters and build notebooks.
Notebooks provide an intuitive interface for developers and analysts to collaborate by mixing code, documentation, and visualizations for query results. A notebook consists of the following:
-
One or more cells with executable code and explanatory text.
-
A web browser user interface combined with a connection to a database, such as a DataStax Enterprise (DSE) cluster.
-
Inputs and outputs of an interactive session and descriptive text that accompanies the code.
Tutorial notebooks
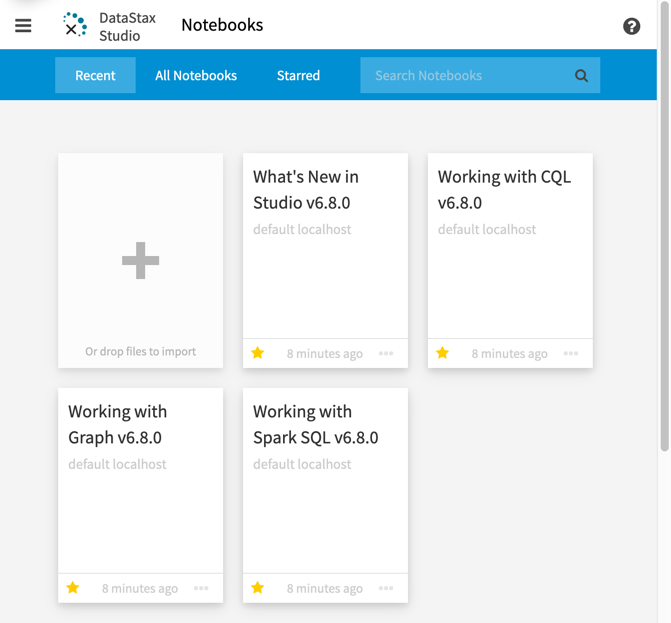
To help you get started, your DataStax Studio installation includes the following tutorial notebooks:
-
What’s New in DataStax Studio v6.8.0?
Create your first notebook
-
Start DataStax Studio if it isn’t already running.
-
On the Notebooks page, click Add Notebook.
-
Enter the notebook name.
-
Click Add New Connection, and then enter the connection details:
- Standard connection (DSE)
-
Use a Standard Connection to connect to a DSE cluster:
-
Name: Name of the connection from the notebook to a DSE cluster, such as
DSE Notebook Connection. -
Host/IP (comma delimited): The host names or IP addresses of the DSE cluster to connect to, such as
127.0.0.1. All hosts must be in a single datacenter. Default:localhost. -
Username: Optional DSE username for logging in.
-
Password: Optional DSE password for logging in.
-
Port: IP connection port where the Cassandra Query Language (CQL) native transport listens for clients. The default is 9042. This port must be the same as the
native_transport_portin your DSE cluster’scassandra.yamlfile. -
Use SSL: Optional configuration for encrypted connections. If selected, you must also configure the Truststore and Keystore settings. For more information, see SSL encryption.
-
- Astra DB connection
-
Use an Astra Connection to connect to an Astra DB database:
-
Name: Name of the connection from the notebook to an Astra DB database, such as
Astra Notebook Connection -
Secure Connection Bundle path: The absolute path to a local copy of your database’s Secure Connect Bundle (SCB).
-
Client ID and Client Secret: Optional client ID and secret values from an Astra application token.
-
Once you create a connection, you can use that connection for all of your notebooks, and you can switch connections as needed. The connection automatically populates if you have only one connection available. For more information, see Create a connection in DataStax Studio.
-
Click Test to verify the connection.
-
Click Save to save the connection.
-
Click Create to create your notebook.
Add a cell
Initially, the notebook has a single empty cell in CQL edit mode. You can change the cell’s language to Gremlin, Spark SQL, or Markdown.
-
In the default cell, use the Keyspace setting to set the context for your CQL statements.
For more information, see Use Cassandra Query Language (CQL) in DataStax Studio.
-
Enter the following code in the cell:
DESCRIBE TABLES;
SELECT * FROM TABLE_NAME;
Replace
TABLE_NAMEwith the name of a table in your keyspace. -
Click Run Cell to run the command.
-
Click Add Cell to add another cell to the notebook.
-
Set the Language to Markdown.
-
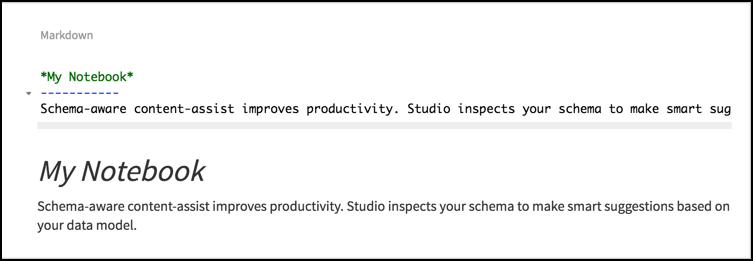
Add some Markdown-formatted text to the cell, for example:
My Notebook ----------- Schema-aware content-assist improves productivity. Studio inspects your schema to make smart suggestions based on your data model. When you work with properties of a person, then you'll see suggestions for name and date_of_birth. -
Click Run Cell to render the text.
-
Continue creating cells to populate your notebook with code snippets and text.
