Manage projects
Mission Control organizes clusters by projects. A project is a logical grouping of clusters. For example, you might have a project for each environment (dev, test, prod), or for each team (team1, team2, team3).
Administrators with the correct permissions can easily control the lifecycle of nodes, datacenters, and underlying hardware.
Perform database operations using the Mission Control UI
Mission Control provides a UI through the IP address of any node using port 30880 on
the control plane cluster.
For example, issue https://10.0.0.3:30880 from a web browser, where 10.0.0.3 is the qualifying node’s IP address.
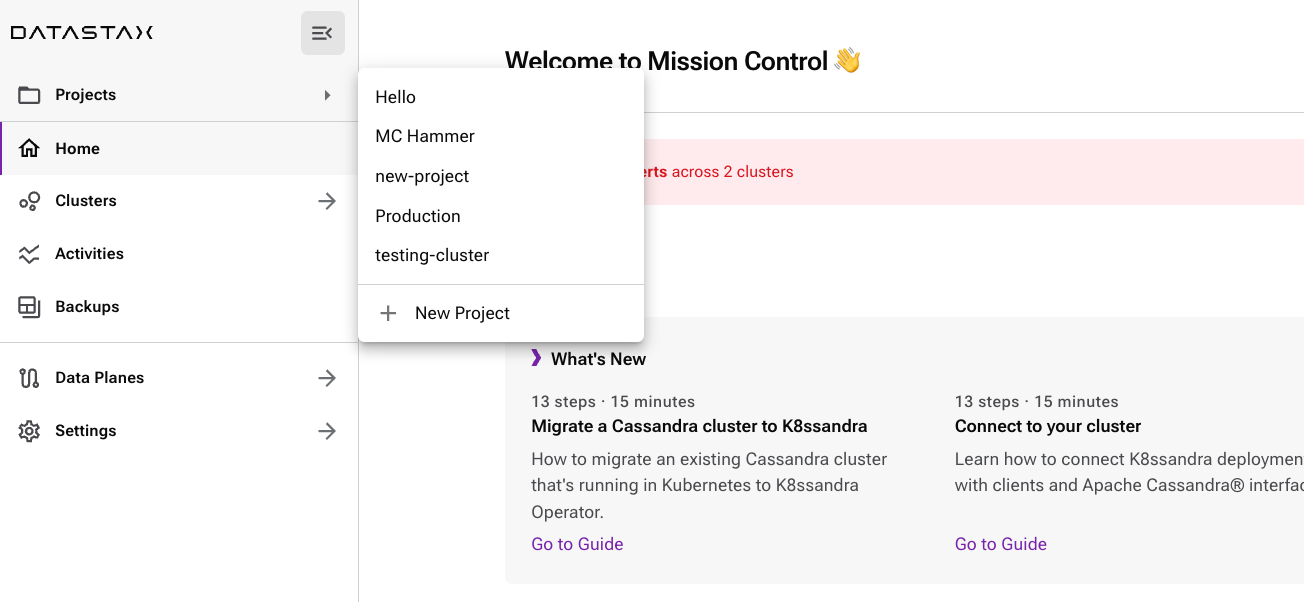
Create a new project
The first item in the sidebar opens the list of projects.
To create a new project, do the following:
-
In the Mission Control UI, click Projects →, and then click New Project.
-
Enter a name for the project in the New project dialog, and then click Create Project.
Mission Control generates a unique identifier called the Project Slug, and creates a new project.
You can find the project slug in the Mission Control UI breadcrumbs next to the cluster name on the cluster details page.
The project slug serves as the namespace name for the project and is used in kubectl commands and configuration files.
-
Open the project by selecting its name in the Projects → list.
Perform database operations using a CLI
The Kubernetes kubectl command-line tool, version 1.22 or later, enables you to run commands programmatically against Kubernetes clusters through the K8s API server.
Create a new project
Projects are special namespaces that have two additional fields:
-
A
mission-control.datastax.com/is-projectlabel set totrue -
A
mission-control.datastax.com/project-nameannotation set to the project display name
The project slug is used as the name for the namespace and generated by Mission Control when a project is created.
Here is an example of a project definition:
apiVersion: v1
kind: Namespace
metadata:
  name: PROJECT_SLUG
  labels:
    mission-control.datastax.com/is-project: "true"
  annotations:
    mission-control.datastax.com/project-name: "PROJECT_DISPLAY_NAME"
Replace the following:
-
PROJECT_SLUG: The project slug (namespace name) -
PROJECT_DISPLAY_NAME: The display name for the project
After saving this manifest to a file, for example, PROJECT_SLUG.yaml, you can create the project with the following command:
kubectl apply -f PROJECT_SLUG.yamlReplace PROJECT_SLUG with the project slug you want to use.
Delete a project
Deleting a project is as simple as deleting the namespace:
kubectl delete namespace PROJECT_SLUGReplace PROJECT_SLUG with the project slug of the project you want to delete.
Modify a project display name
The project display name is stored in the mission-control.datastax.com/project-name annotation. You can modify it with the following command:
kubectl annotate namespace PROJECT_SLUG mission-control.datastax.com/project-name=NEW_PROJECT_DISPLAY_NAME --overwriteReplace the following:
-
PROJECT_SLUG: The project slug of the project you want to modify -
NEW_PROJECT_DISPLAY_NAME: The new display name for the project
