Creating a schema in DataStax Studio
Create a schema to give your graph a structure.
-
DSE 5.1 installed, configured, and running.
-
DataStax Studio installed and running.
-
A connection from Studio to a DSE cluster.
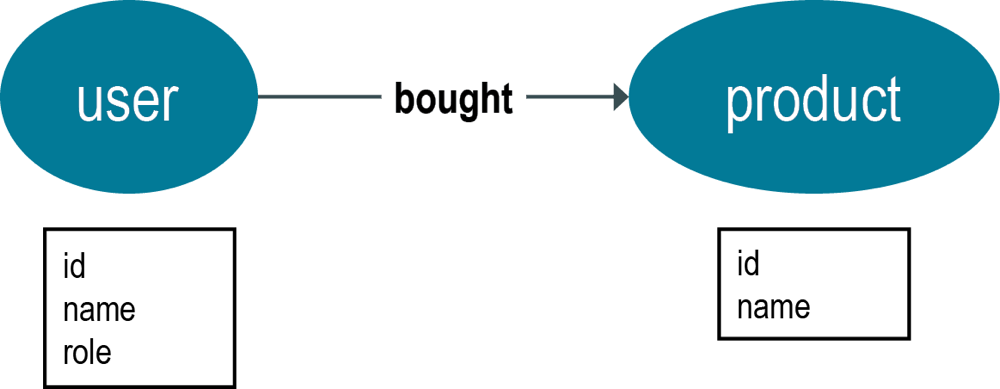
To create a schema, execute Gremlin code in a Gremlin cell in your notebook. The schema used in this example represents users and products and their relationships to one another.
-
Add a code cell to your notebook.
-
Write code to create a schema:
-
Drop the schema if it exists.
schema.clear()When creating a notebook, some variables are created by default (if none exist) for you to access in code cells. For example, a graph (
graph), a graph traversal (g), and a schema (schema). Thegraphvariable is set to an empty graph with the name that you previously provided in the notebook’s connection. -
Create the property keys for the schema.
schema.propertyKey('id').Int().create()
schema.propertyKey('name').Text().create()
schema.propertyKey('role').Text().create()
The
idandnameproperty keys are used by both theuserand theproductvertices. Theroleproperty key is only used by theuservertex. -
Create the vertex labels for
userandproduct.schema.vertexLabel('user').create() schema.vertexLabel('product').create() -
Create the edge label for use between the
userandproductvertices.schema.edgeLabel('bought').create()
-
-
Execute the code by selecting Run Cell.
You have created the schema for the example.
-
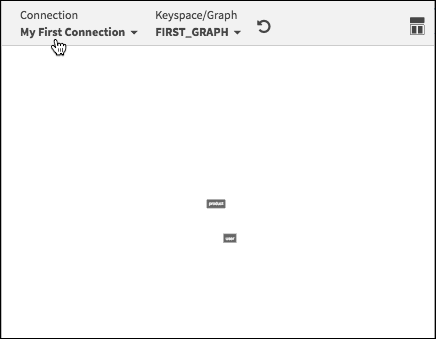
View the resulting schema by selecting Schema in the upper-right-hand corner of the notebook.
 gsSchema
The schema you created in this task is based on the following data model:

*Parent topic:*Creating a graph in a Studio notebook
