Installing a DSE cluster using Lifecycle Manager and OpsCenter
Lifecycle Manager (LCM) in OpsCenter allows you to easily provision, configure, and install DataStax Enterprise clusters.
The workflow when using LCM is to first install OpsCenter on a dedicated server, then use LCM to configure and install the nodes in the DSE clusters.
Prerequisites
These steps assume that:
-
All target machines are running a supported platform.
-
You have authentication credentials (either username and password, or an SSH key) for each machine on which DSE is being installed.
-
The DSE nodes are accesible by OpsCenter.
-
You have access to either the public DSE repository or to an internal mirror set up by your organization.
The topology of your clusters is important. Before you begin, you should know how many clusters, datacenters, and nodes in each datacenter you need. Decide on the arrangement of workloads within the clusters. Does a single workload per datacenter or a mixed workload cluster work better for you?
The instructions show how to install a cluster consisting of a datacenter with 3 nodes dedicated to transactional workloads with DSE Graph enabled. Internode encryption, client encryption, and both authentication and authorization are enabled on all nodes.
The examples show how to install a cluster consisting of 2 datacenters, each with 3 nodes.
One datacenter, dc1, is dedicated to transactional workloads.
The other datacenter, dc2, is dedicated to Analytics workloads.
Both datacenters use DSE Graph.
Internode and client encryption is enabled on all nodes in the cluster, and internal authentication and authorization are enabled.
Procedure
-
Install and start OpsCenter on one of the target machines using the installation method of your choice.
-
In a web browser, go to
http://OpsCenter host:8888. -
After OpsCenter loads, make sure Create a new cluster is selected and click Get Started. Lifecycle Manager loads in another window.
-
Click SSH Credentials in Lifecycle Manager, then click Add Credential. Give a Name to each individual user or key to keep track of the users or keys used in your cluster.
-
If you are using password authentication, add the user credentials for each node in the cluster under Login User and Login Password, and click Save.
-
If you are using a private key, enter the username under Login User, select Private Key and paste in the key, and click Save.
-
-
Click Config Profiles in Lifecycle Manager, then Add Config Profile.
-
Enter a Name for this configuration profile. For example,
dse51. -
Select the latest version of DataStax Enterprise under DataStax Enterprise Version. For example,
dse v5.1.0.
-
-
In Config Profiles select
cassandra.yamlin the left pane under Cassandra.-
Under
server_encryption_optionssetinternode_encryptiontoall. Set thekeystore_passwordandtruststore_passwordto new values. -
Under
client_encryption_optionsselectenabled. Set thekeystore_passwordandtruststore_passwordto new values.
-
-
In Config Profiles select
dse.yaml.-
In the DSE Authenticator Options section under
authentication_optionsselectenabled. -
In the DSE Authorizer Options section under
authorization_optionsselectenabled.
-
-
Select Save to save your named Config Profile.
-
Click Repositories in Lifecycle Manager, then Add Repository to add a DSE repository for installing and updating DSE in your cluster.
-
Give a Name to this repository. For example,
dse. -
If you are using an internal repository, click Access Private Repo and enter the repository URL and URL key.
-
Enter the repository credentials for your repository under Username and Password.
-
-
Click Clusters in Lifecycle Manager, then click Adding a Cluster. This will bring up the Add Cluster dialog.
-
Give a Name to the cluster.
-
If you use the same SSH credentials (password or key) across all the machines in your cluster, select the name of the credentials you configured under SSH Credentials.
-
Select the name of the configuration profile you entered under Config Profile.
-
Select the name of the repository you entered under Repository.
-
Click Save.
-
-
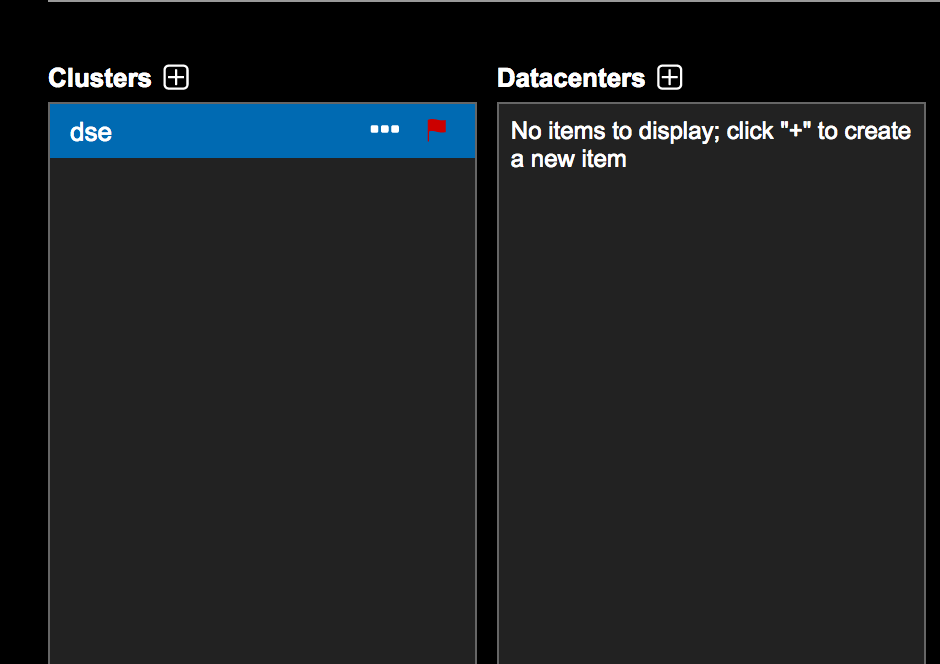
Click the name of the cluster you entered, then click the Add icon by Datacenters. This brings up the Add Datacenter dialog.
 Adding a datacenter
 -
Configure the transactional datacenter.
-
Enter the name of your datacenter under Name.
-
If you have different SSH credentials in each datacenter, select the name of the SSH configuration that applies to this datacenter.
-
Select the workload for this datacenter under Workload. For the first datacenter, leave Workload set to
Cassandrato create a transactional workload. -
Select DSE Graph.
-
Click Save.
-
-
Click the + icon by Datacenters to add and configure the second analytics datacenter.
-
Enter the name of your datacenter under Name.
-
If you have different SSH credentials in each datacenter, select the name of the SSH configuration that applies to this datacenter.
-
Select the workload for this datacenter under Workload. For the second datacenter, set Workload to
Sparkto create an analytics workload. -
Select DSE Graph.
-
Click Save.
-
-
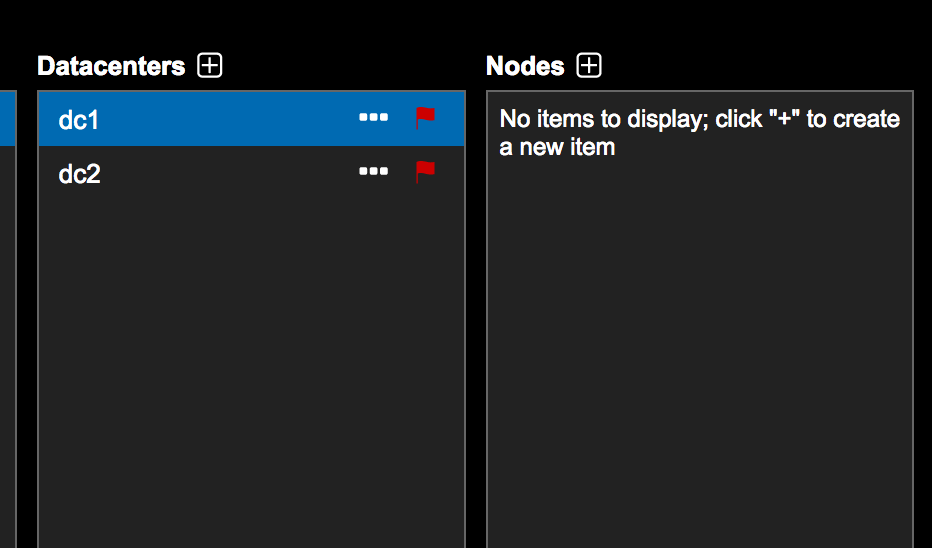
Add nodes to the datacenters.
-
Select the datacenter name, then click the Add icon next to Nodes.
 Adding nodes to a datacenter
 -
Enter a Name for the node. For example,
dse-transactional-1. -
Enter the IP address for the node under SSH IP Address.
-
If you have different SSH credentials for each node, select the name of the SSH configuration under SSH Credentials.
-
Enter
0.0.0.0under RPC Address. -
Select Save.
-
Repeat these steps for each node in each datacenter.
-
-
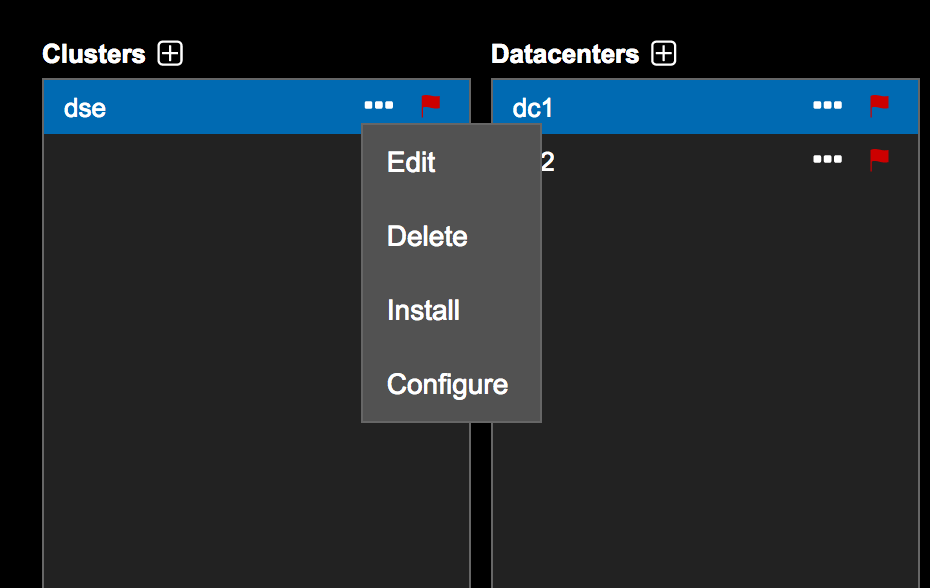
Select the cluster name under Clusters, then click the drop menu to the right of the cluster name.
-
Click Install to open the Run Installation Job dialog.
 Running the Install job
-
Enter a new default password for the database superuser under New DSE Password.
-
Click Submit. The installation job has been queued by the Lifecycle Manager.
-
Click View Job Summary to track the progress of the installation.
-
Next steps
Go the main OpsCenter interface by clicking OpsCenter Monitoring.
